
HTML Tables have lots of uses. Here is one:
|
TIP |
You can use a single row table to create a simple feature box that points out important information! |
HTML Table Tags have gotten a bit of a bad name in the past 10 years. For the first 10 to 20 years of the internet, HTML Table tags were used on nearly every website to layout the position of content on each web page. All content was placed in Table boxes called Table Rows and Table Cells. However, this resulted in Static looking web pages that had a fixed with for the entire page and a fixed width for every column and cell on the web page.
The rapid rise of mobile screens, thanks to internet enabled smart phone and tablets, required the move from Static Layouts to Responsive Layouts – or layouts that changed on the fly depending on the width of the screen used by the reader to view the web page. Responsive layouts meant replacing HTML Table tags with floating divides – which we will cover in Chapter 3.
Thus, most courses on HTML now insist that Table tags only be used for displaying data. This is not entirely good advice. Tables can and should be used for creating colorful Feature Boxes to break up and add interest to a web page. Tables can even be responsive to the width of screen readers. We will cover this topic in Chapter 9.
Table tags are also used to create color HTML Email newsletters. This is because many email services are extremely primitive and may not support the Divide tag or Floating boxes. If you want your HTML newsletters to display properly, you will need to create them using Table Tags. We will cover this topic in Chapter 10.
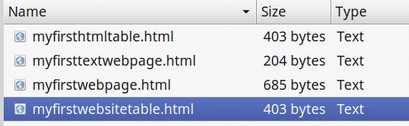
Thus, in this Chapter, we will introduce HTML Table Tags and explain how to use them to display data. Open up your Bluefish Editor and use the Quick Start icon to create the head of a new HTML document like we did in our previous sections. Call the HTML document My First HTML Table and save it to your HTML documents folder remembering to add the dot html extension at the end of the file name. You should now have four html files in your html folder.
There is a minor problem with the Bluefist Quick Start method for creating HTML files. There is no language attribute in the html opening tag. It should look like this: <html lang=”en”>
Instead, it looks like this: <html>
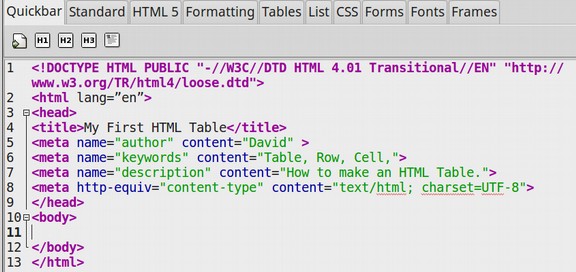
To solve this problem, whenever we create an HTML document with Bluefish, copy and paste the lang=”en” attribute into the html opening tag. Then save the document. Here is what the head section of the document now looks like before we have added any content.
Remember that all HTML documents should begin with a heading in an H1 tag to be recognized by search engines. They should also have at least one sentence in a paragraph tag as we typically want to anchor images and other elements to paragraphs. To create the H1 and P tags for this document, let’s use the quick icons rather than the top menu.
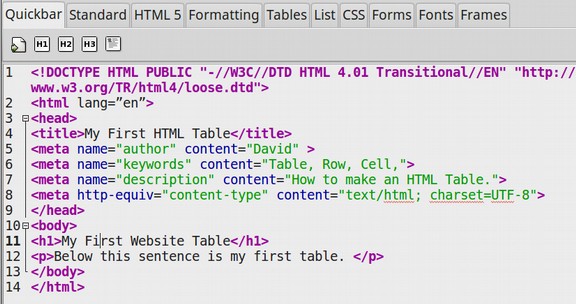
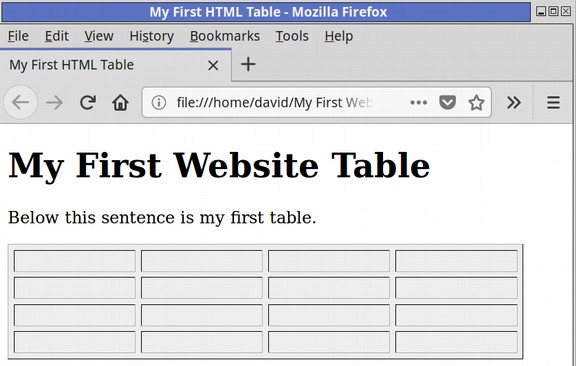
Here is what our workspace looks like after adding a Heading and Paragraph:
Now that we have the foundation for our web page built, click on the Table Tab. Here is what the Table Tab Quicklaunch icon row looks like:

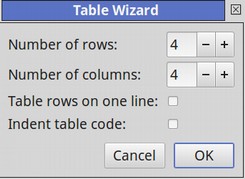
It is a bit odd because if you hover your cursor over each icon, you will see that there are two icons for every function. The second five icons appear to be the same as the first five icons. In fact, the first five icons include set up wizards while the second five icons merely insert the tags (such as adding a new row to a table). Place the cursor on a new row. Then click on the first icon. Here is the set up wizard for the first Table Quick Launch icon.
Here is the HTML code for a table with 4 rows and 4 columns:
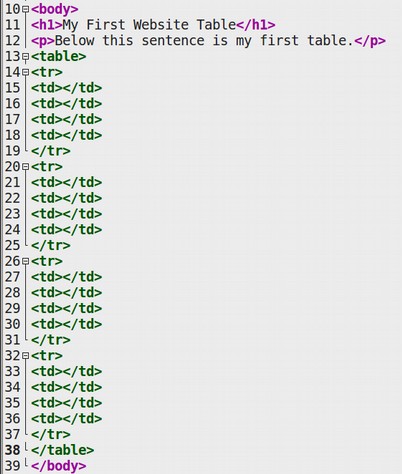
The tr tag or tr element stands for Table Row. The td tag or td element stands for Table Data which is placed in a table cell.
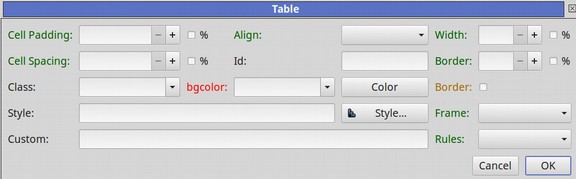
Select the table opening tag. The table opening and closing tags will turn red. Then click on the second icon. Here is the Table Formatting Wizard
Type in 10 for the Cell Padding, 5 for the Cell Spacing, align left and 500 for the width. Check the border. Here is what this table wizard now looks like:
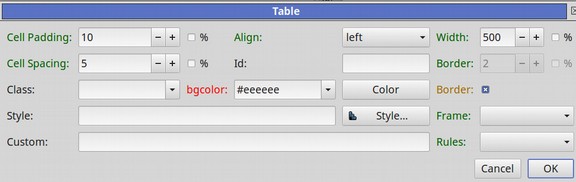
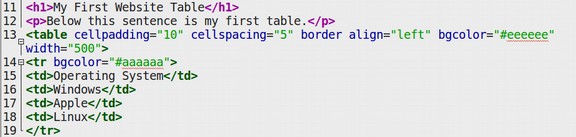
We have put in a background color of #eeeeee which is light gray. You could also click on the Color button and choose any other color you want for a background color. Here is what the HTML for our table now looks like:
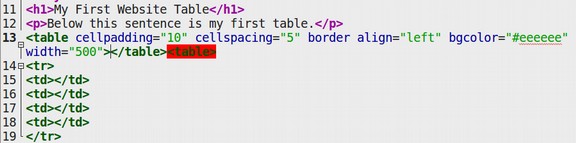
There is a mistake in the above code in that the table opening and closing tags are listed twice. Delete the red table tag and the closing table tag just to the left of it. Then save the file and open the browser. Clear your browser history and reload the page. Here is what our table now looks like in the browser:
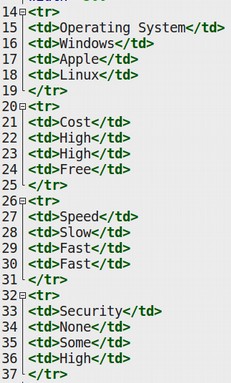
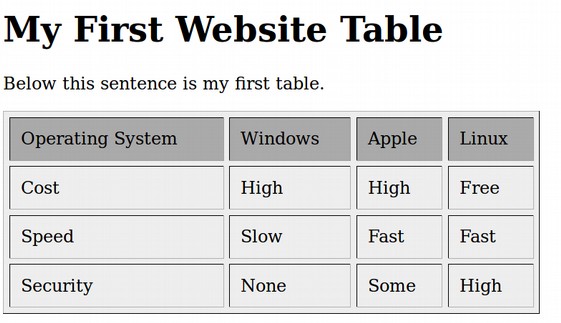
Next type some data into each cell. Below is a comparison of three factors, cost, speed and security for three operating systems. The name of the operating systems are typed into the first row and the factors are typed into the following rows. Here is the Bluefish workspace:
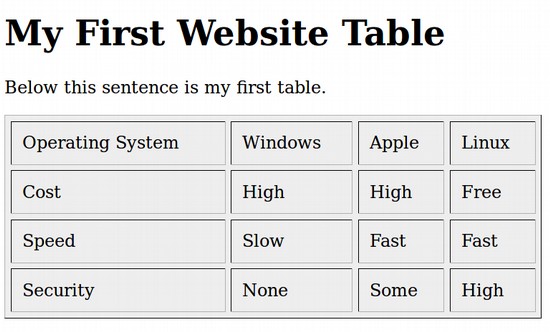
Click Save and refresh the browser:
To make the first table row a slightly different color, select the first tr tag. Then click on the third quick launch icon which is the row wizard.

Type in #aaaaaa. Then click OK. This will also insert an extra row opening and closing tag. Delete them. Here is our HTML for the new row color:
Note that the property and value are both placed inside of the table row opening tag. Click Save. Then refresh the browser.
The fourth table icon wizard is called Table Heading. Enter a new line just above the first table row. Then click on the Table Heading Wizard.
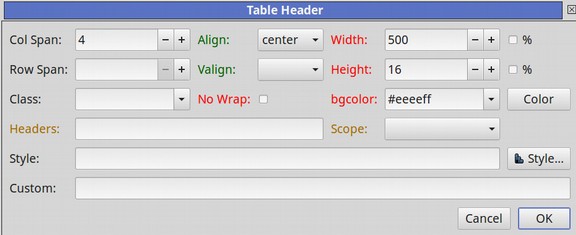
Span all four columns, Align Center, make the heading the same width and make the heading row 16 pixels high with a background color of light blue.
Here is the HTML for the Table Heading:

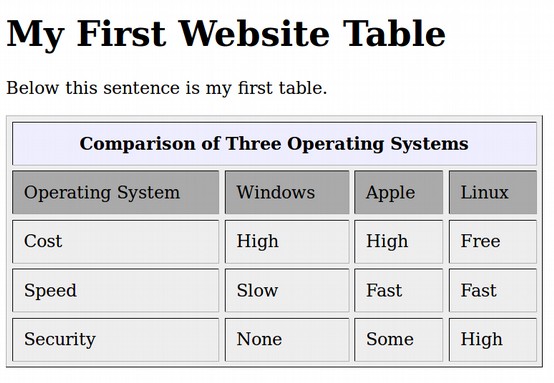
Just before the th closing tag, type in a heading: Comparison of Three Operating Systems. Click Save and view the result:
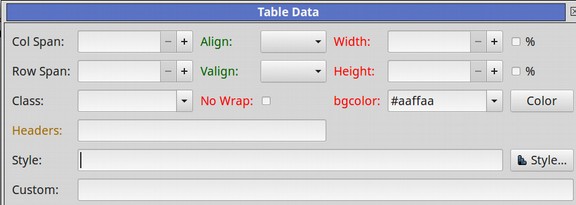
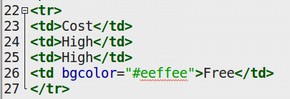
The fifth icon is the Table Data Wizard. Let’s select the Table Data tag just before the word Free. Type in light green for the background color. Here is the wizard:
Delete the extra opening and closing tags just before the word Free.
Here is the HTML:
Then click Save and view the result in the browser.

There is much more to learn about formatting tables. We will therefore spend a great deal of time on this topic during the final two chapters. But hopefully, you now not only have a better understanding of HTML Table tags but also the benefit of using the Bluefish Web Editor to create your tables by clicking on a few buttons rather than trying to hand code the entire 42 lines of table tags with a Text editor.
What’s Next?
In the next section, we will introduce the HTML tags for ordered and unordered lists.